 Clemson Cyber
Connecting to the Lab
Table of Contents
Before You Begin
See the table of contents on the right for links to connecting from your platform.
Linux Instructions
Installing the OpenVPN Client
Fedora
sudo dnf install openvpnUbuntu
sudo apt install openvpnArch
sudo pacman -S openvpnConnecting to the Lab VPN
If and only if you are off campus, you will need to connect to Clemson’s VPN using OpenConnect. Follow the instructions here if that is the case.
First you must download the OpenVPN config file for your account. The config file is in an email titled “CU Cyber Lab Access” from [email protected]. Check your email and download the file.
In a terminal, navigate to the folder with your personal OpenVPN config file ending in .ovpn and run the following command.
sudo openvpn --config <username>.ovpnTesting Connection to the Lab
At this point you should be connected to the lab VPN. To test your connectivity execute the following command.
ping -c 4 oracle.lab.cucyber.netIf the ping succeeds then you’ve successfully connected to the VPN and your DNS is working as intended!
If you are having issues, check to see if you are already connected to the VPN or connected more than once. The VPN does not allow concurrent connections and if there are multiple connections, they end up fighting each other by disconnecting the others every five seconds.
Change Your Password
After successfully connecting to the lab environment, you will need to change your password.
Windows Instructions
Installing the OpenVPN Client
- Download and install the official OpenVPN client named “openvpn-install-[ver].exe”.

Connect to the Lab VPN
Use the OpenVPN client to load your OpenVPN config file ending in .ovpn.
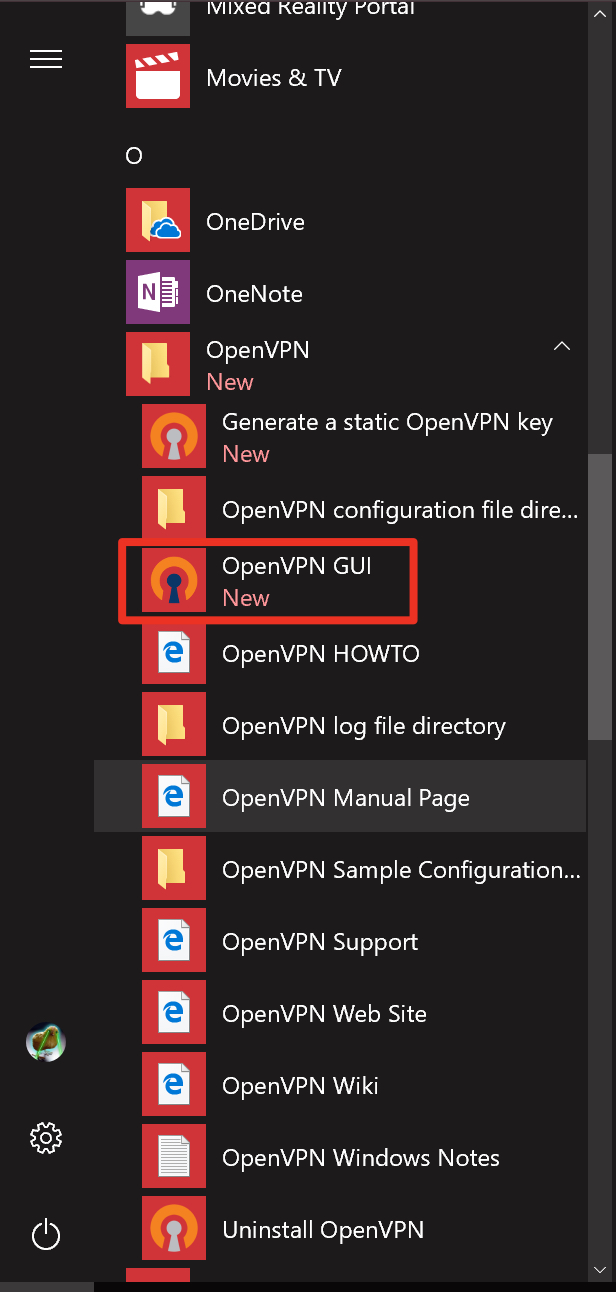
- Open the OpenVPN GUI
First Time
If a dialog pops up about no connection profiles found, click “OK”
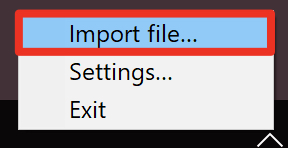
Right click on the OpenVPN client in the system tray

- Click on “Import Profile”
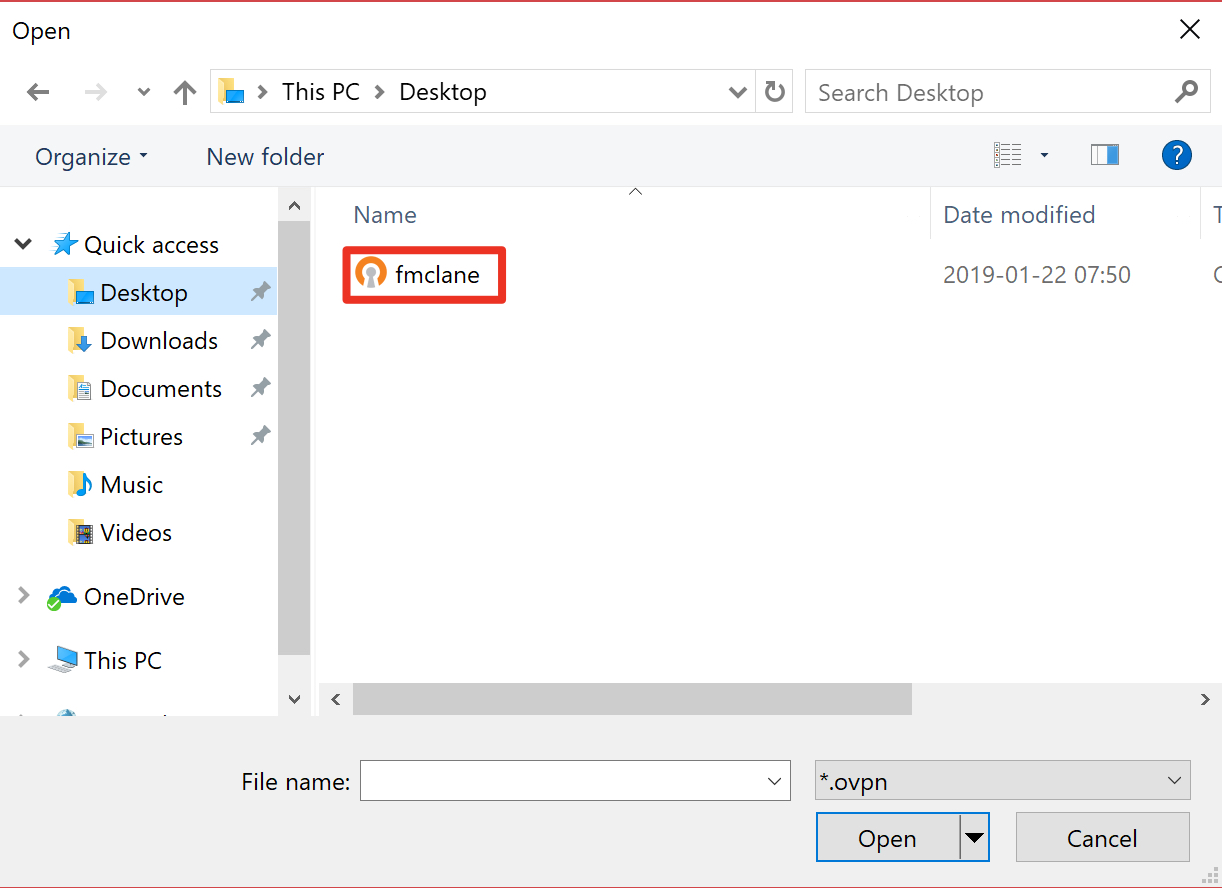
- Navigate to your .ovpn file and double click it
Every Time
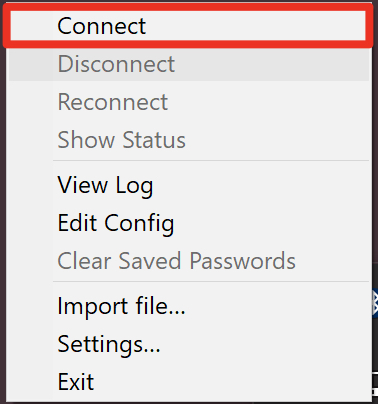
- Right click on the OpenVPN client in the system tray
- Click on “Connect”
Testing Connection to the Lab
ping oracle.lab.cucyber.netIf the ping succeeds then you’ve successfully connected to the VPN and your DNS is working as intended!
Change Your Password
After successfully connecting to the lab environment, you will need to change your password.
macOS Instructions
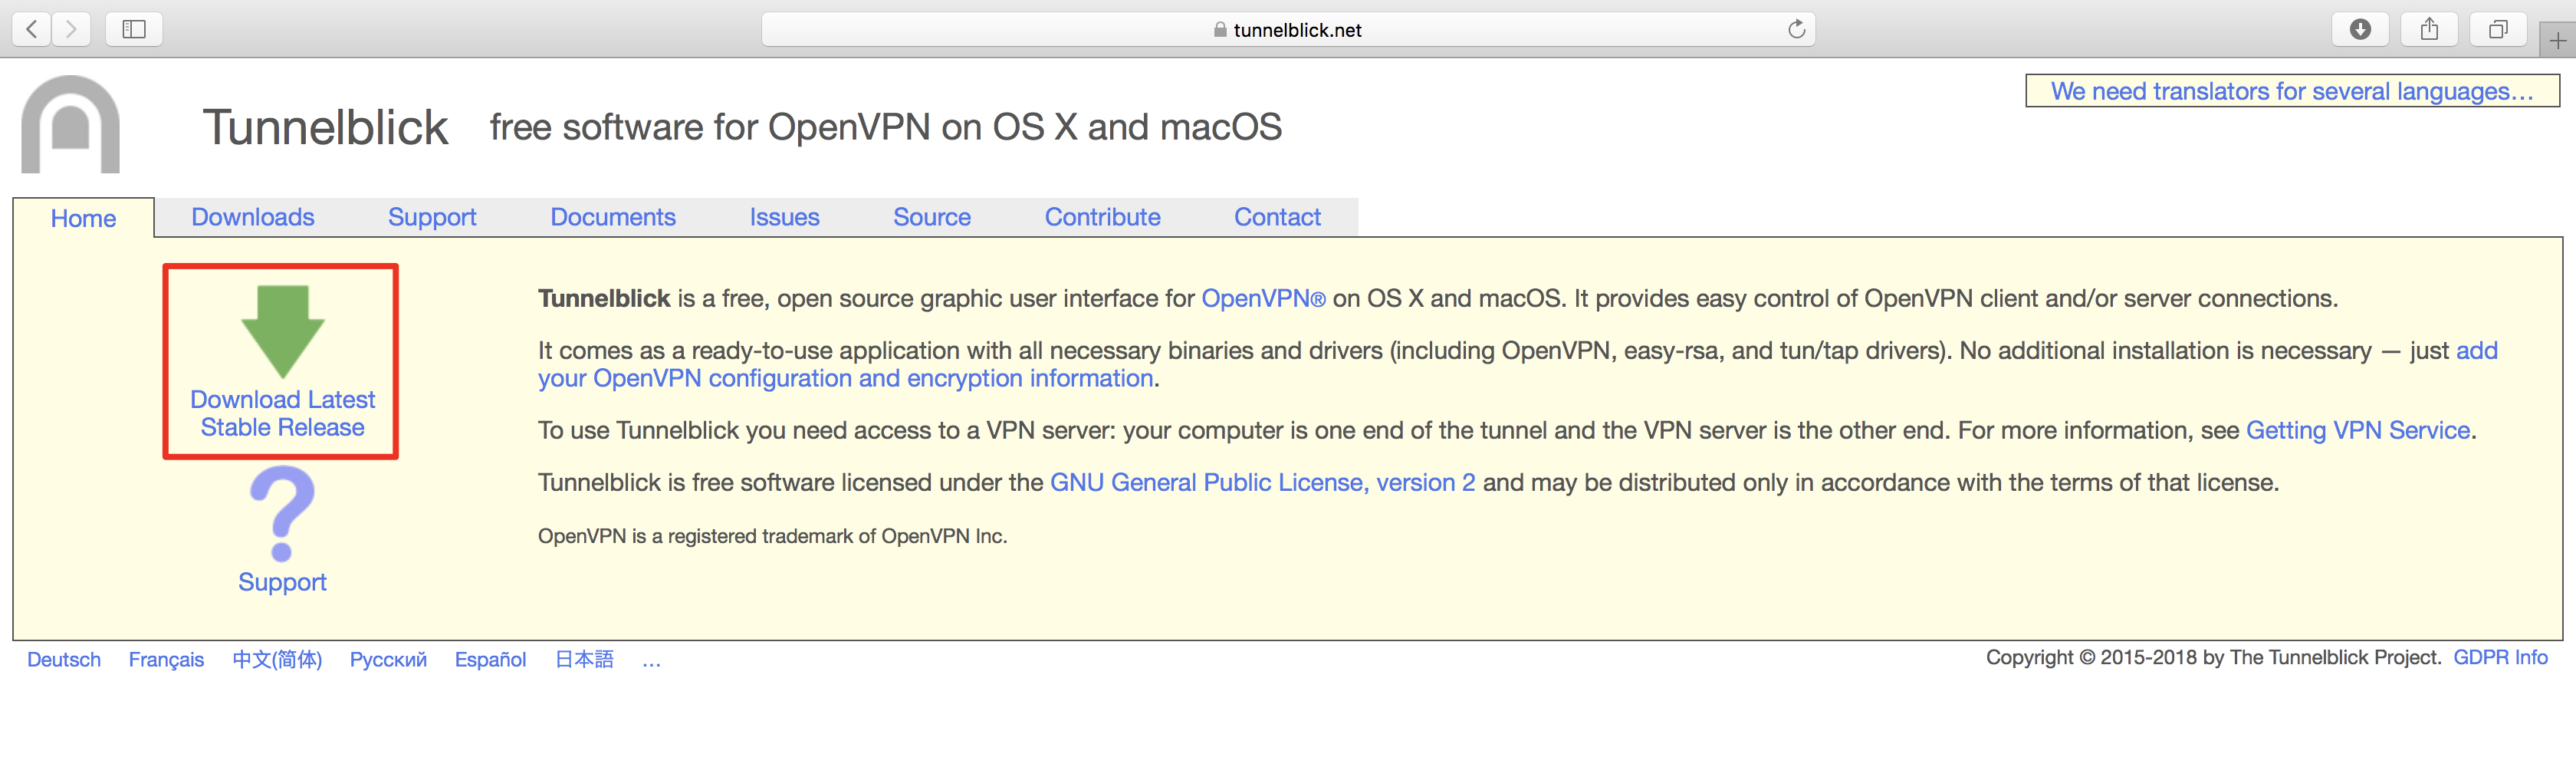
Installing the OpenVPN Client
- Download and install the TunnelBlick OpenVPN client.
Connect to the Lab VPN
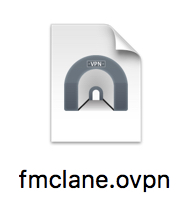
Use the Tunnelblick client to load your OpenVPN config file ending in .ovpn.
First Time
- Double click your .ovpn file and enter your macOS password into the dialog
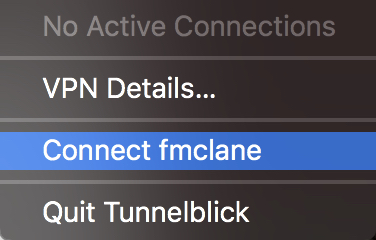
Every Time
- Click the Tunnelblick icon in the menu bar

- Click “Connect [username]” in the dropdown menu
Testing Connection to the Lab
At this point you should be connected to the lab VPN. To test your connectivity execute the following command.
ping -c 4 oracle.lab.cucyber.netIf the ping succeeds then you’ve successfully connected to the VPN and your DNS is working as intended!
Change Your Password
After successfully connecting to the lab environment, you will need to change your password.